The Journal
Sourdough Recipe
April 14, 2020
First I have to tell you that this sourdough recipe and technique came from THIS website. Watching the video was so helpful and I halved the recipe to make one loaf instead of two. And just a heads up, baking this type of bread is kind of an all day process but so worth it! The thing to remember about sourdough is that it is really finicky. The humidity, the temperature in your house, the type of flour you use, all can affect the way the bread rises and bakes so your proofing times, etc. may change with the seasons! And that’s ok!
Why Sourdough?
Sourdough is one of the healthier breads due to the fermentation process of your starter. The prebiotics and probiotics from this fermentation process help break down the gluten so the bread is easier to digest. It’s better for those with wheat and gluten sensitivities because essentially the good bacteria in your starter have basically pre-digested things for you. Sourdough bread also takes longer to digest and studies have shown that rye flour added to sourdough can help regulate blood sugar levels which can ward off diabetes. You can read more about all of the benefits HERE.
Also…I haaaaatte having to scroll through an entire blog to get to the recipe so let’s just get to it!
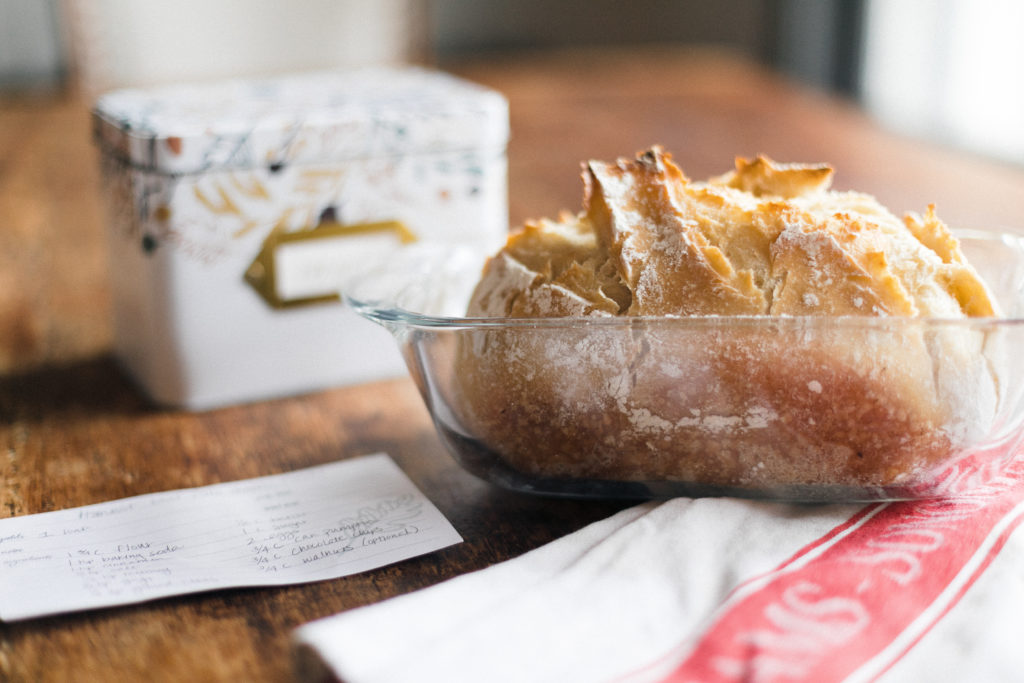
The Sourdough Recipe
*I know, you might be going “Sarah, what’s up with the metric measurements?” For dry ingredients, measurements by volume render less accurate than measurements by weight…soooo it’s because I’m a perfectionist. Sorry!*
160g of sourdough starter (You can click HERE to read about how to make your own starter)
400g of flour
230 ml of water
5g of salt
Mixing bowl (or I use my Kitchenaid stand mixer)
Using your kitchen scale, measure your ingredients (remember to put your empty cup or bowl on the scale and zero it out first!).
- Combine all of your ingredients in a mixing bowl and if mixing by hand, knead dough until enough gluten is built up (approx 10-15min, do a “window pane” test).
- If using a mixer, attach your dough hook and set the mixer to a medium speed. Knead the dough for approx 10 min or until you achieve the window pane effect. The dough should be smooth, soft and elastic.When kneading, do not worry if the dough is slightly wet or sticky. Resist the temptation to add any extra flour.
- When the dough is kneaded, place in a bowl and cover with plastic wrap for the first proof. Proof the dough for about 4 hours at room temperature or until it has doubled in size.
- Turn the dough out of the bowl and knock the dough back by pressing the air out and flattening the dough. Then, form the dough into a tight round ball or loaf.
- Place a tea towel in your loaf pan and flour it generously. Place your loaf in the floured tea towel and cover it with the ends of the towel. Let it proof for another 3-3.5 hours or you can let it proof overnight in the fridge.
- Preheat your oven to 425 degrees. Remove the tea towel from your loaf pan so it’s just your dough in the pan. Score your dough (make a shallow cut down the middle or whatever design you’d like). Place in the oven and bake for about 45 minutes-1hr.
- Once baked, remove your bread from the pan and allow it to cool.
Like I said, this sourdough recipe is great for those days where you have lots of time on your hands which is…well…every day during this quarantine for us! Here’s the video I used to learn how to make my sourdough bread! Happy Baking!

Leave a note